This post may contain affiliate links. Read my full disclosure here.
Putting together an El Cocuy packing list is trickier than it sounds. You’re not just packing for a hike. You’re packing for cold mornings, hot afternoons, sudden rain, and altitude that can catch even experienced hikers off guard.
Here’s what actually made it into my bags for two big hikes, Laguna Grande de La Sierra and Púlpito del Diablo, and one acclimatization day, plus a few things I wish I’d packed the first time.
That was our itinerary, not a guarantee that one acclimatization day is enough for everyone. This list is for permitted day hikes, with overnight items staying at accommodation outside the park. Camping, overnight stays and glacier entry are not permitted inside the park. Children under 10 cannot enter; being old enough to enter does not automatically make these hikes suitable.
Before you go, confirm your trail reservation, authorized guide, registration and induction, and the required accident-and-rescue insurance with Parques Nacionales. Complete registration and induction at least the day before entry. Check current trail and access notices with the park and your guide, because conditions can change.
And a quick note before the list: the links throughout are either the exact gear I used or as close to it as I could find. This was my sixth year doing a big annual adventure trip, and I spent years testing gear while living in Colorado before that. I’m linking the kinds of gear that have held up for me on trail after trail. A similar linked item is not necessarily one I’ve personally tried, so check the current model and its instructions before buying.
Clothing
Layers matter more than any single piece of gear on this list. Temperatures swing fast in the páramo, so you’ll want options for both cold mornings and warmer midday sun.
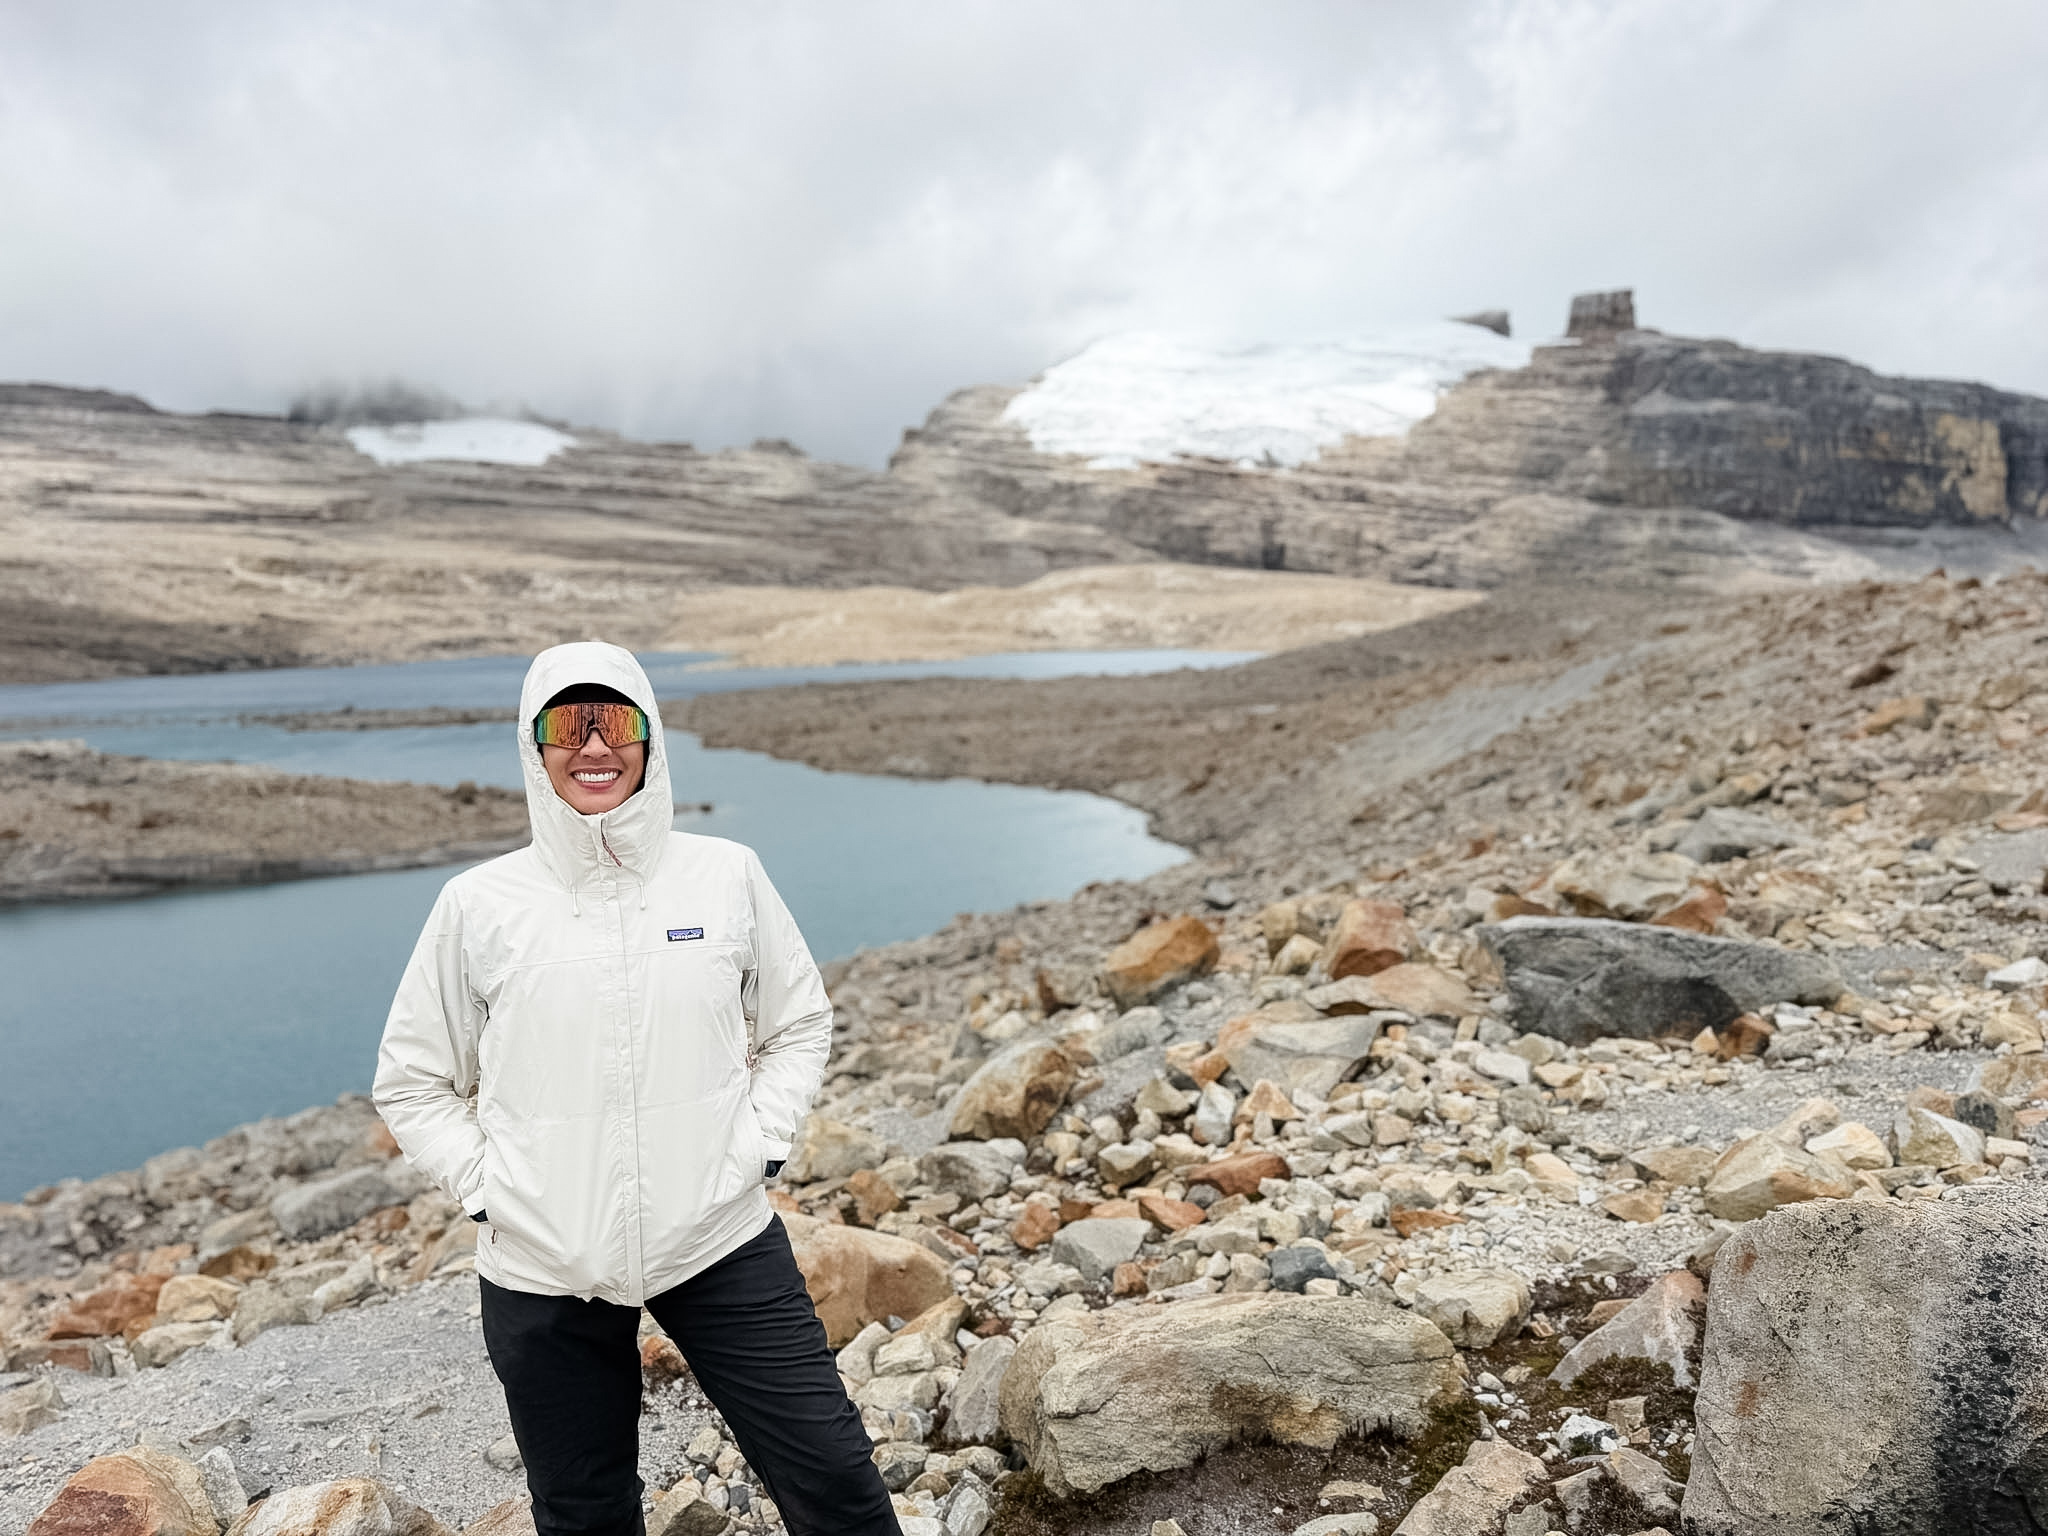
- Beanie, a full-coverage hat, and a performance cap. Add a balaclava for the park’s required head and face protection.
- Glove liners and waterproof gloves
- Sports bras, merino wool hiking socks, and performance underwear (I brought an extra of all three. Avoid cotton like the plague)
- 2 base layer tops, fleece, puffer jacket, and rain shell jacket
- 2 pairs of hiking pants, 2 base layer bottoms, rain shell pants
- Hiking boots, plus something comfortable for evenings that isn’t sneakers
- Shower shoes
- Bathing suit for the termales outside the park
Gear
- A 20L pack is one option, but choose enough space for your water, food, warm layers, rain gear and emergency supplies. Confirm the day’s load with your guide before choosing a size.
- Rain cover for your pack, plus a way to keep spare clothes dry
- Trekking poles, which help more than expected on the steeper, rockier sections
- Optional comfort items for the accommodation: Theragun and/or a heating pad, for sore legs at the end of the day. I brought both and was not mad about it. Follow the device instructions and check its charger or power label for electrical compatibility.
Don’t stop at the shopping list. The park’s mandatory equipment list (section 7.2) also includes a flashlight with spare batteries and bulb, a reusable water container, ready-to-eat calorie-rich food, and a bag to carry your rubbish back out. Arrange suitable backup lighting for your particular light with your guide. Warm and waterproof clothing, suitable footwear, gloves, a balaclava, SPF 50+ sunscreen and 100% UV-protective sunglasses are also on that list. Pack out wipes and food scraps too, and check the park’s single-use-plastic restrictions before packing snacks.
Water and safe refills
The park’s visitor page suggests around 4 liters of water per day; its older equipment annex says a minimum of 4 liters. Discuss the amount to carry and any refill plan with your guide before leaving. Your needs vary with the hike, conditions and health. My pack is an Osprey with space for a hydration bladder, and it made refills easy on our trip.
Don’t assume that a clear stream or a suggested refill point is safe to drink untreated. There is no verified potable-refill guarantee behind this packing list. The CDC’s hiking-water guidance explains treatment options for water whose safety is uncertain. Plan safe drinking water before entering; this is not a suggestion to light a fire in the park.
If you bring a LifeStraw, check the exact model. Common microfilters remove bacteria and parasites but not viruses, while purifier models differ. Follow the manufacturer’s filtration guidance and cold-weather instructions: freezing can damage a wet filter. Extra water or electrolytes do not prevent altitude illness; forced overhydration can be harmful.
Health & Hygiene
- First aid kit, personal medications and any wound-care supplies you need. Neosporin was on my original list, but it is not a must for every kit: most minor cuts do not need topical antibiotics. Buy specific supplies before the trip rather than relying on local stock
- Electrolytes
- KT Tape
- Blister bandages
- Toiletries (my fave containers)
- Wet wipes (great for the bus ride and on the trail; carry used wipes back out)
- Hand sanitizer
- Sunscreen, SPF 50 or higher. It is on the park’s required equipment list, even when it is cloudy.
- Sunglasses with 100% UV protection, as required by the park. Big fan of Blenders for activewear, but check the protection specified for your actual pair.
A Few Things People Forget
- Cash. Bring enough for expenses that may require it, and confirm payment methods with your lodging, guide and transport provider before traveling.
- A portable charger. Our hostel had enough outlet extenders, but my phone battery drained faster than I expected. I had my Garmin and Oura connected; I can’t say for sure what caused the drain. You’ll want your phone charged for photos, not just emergencies. If your trip includes a flight, check the operating airline’s battery rules. Under FAA rules for U.S. flights, power banks belong in carry-on baggage, must be removed before gate-checking a bag, and need protection against damage and short circuits. Check the bank’s Wh rating and the airline’s current limits.
- ID, park documents and the required insurance. Carry the identification the park requests, your entry ticket and registration, and proof of the required accident-and-rescue insurance. Don’t assume an ordinary travel policy meets the park’s requirements. The hostel we stayed at managed this for us and I had copies on my phone. Offline copies are useful backups; confirm which original documents or formats the park requires for your visit.
- Earplugs. Between the long bus ride and a small pueblo that can get lively, especially around the holidays, a good pair of earplugs goes a long way.
Temperature to Plan Around
Items rated for around 40°F (4°C) worked well for us on that trip. That is our experience, not a minimum-temperature forecast or a guarantee that the same setup will suit your visit. Check conditions with your guide and bring insulating layers, waterproof and windproof outer layers, gloves and head protection, with a way to keep spare clothes dry. Wet clothing and wind increase heat loss, and the park’s checklist calls for protection against extreme cold.
Packing does not replace acclimatization
Getting your El Cocuy packing list right means less energy spent being cold or uncomfortable, but gear and fitness do not remove the risk of altitude illness. Plan a gradual ascent. As the CDC explains, acclimatization takes time; our one-day pause is not a universal plan.
Tell your guide about a headache, nausea, dizziness or unusual breathlessness, and don’t push higher through symptoms. Worsening symptoms call for descent. Confusion, trouble walking or breathlessness at rest need urgent help and descent with your guide or rescue team, without waiting to finish the hike.
More El Cocuy Guides
- How to Get to El Cocuy, Colombia: The Full Route Guide: The route from Bogotá, bus options, driving tips, and where to stop along the way.
- Where to Stay in El Cocuy: Hostal El Caminante: Why this hostal, run by Marta, made both of our trips easy.
- The History of El Cocuy: Pueblo, U’Wa Culture, and the Páramo: The story behind the name, the U’Wa’s connection to the mountain, and what makes the páramo so rare.
- The El Cocuy Trek: Laguna Grande de la Sierra and Púlpito del Diablo: Our hike experiences and costs from those trips. For a family visit, start with the current park age restrictions and assess whether the altitude and route suit your child.


Leave a Reply